
Build your first recipe in Create
Set up forms with Create
Introduction
In this tutorial, we will build a simple recipe for an internal memo. The memo will use a plain template with placeholders for sender and recipient info that will be added through a form. Along the way, we'll perform common tasks like adding a new recipe, setting up a form and adding bindings to a template.
Prerequisites
- Access to a Create organization.
- Admin rights to at least one content source or unit within that organization, or of the organization itself.
- Note that you'll be asked to reauthenticate occasionally if working with a recipe for a longer period of time. No progress will be lost.
Create a new recipe and add the template
We'll use a memo template that's already prepared for you. Download it here. Then add it to Create:
- Open the Create admin page by navigating to the user site, selecting the Omnidocs logo in the top right corner, and Go to admin.
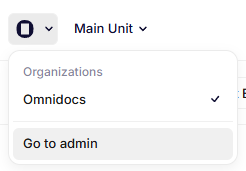
Go to admin
- Navigate to a unit of your choice in the dropdown in the left sidebar, directly under Units.
- Navigate to Content Sources in the left sidebar.
- Navigate to your desired content source in the Content source bar near the top of the page.
-
If there are no content sources, select + to add one. Select Document content source, name it as desired, and Create.

An example Content source bar with four content sources.
-
- Drag and drop the template into the content source, select Ok, and enter the created recipe.
Add form fields
Inspecting the template might already give us an idea of which form fields we might want to include: Sender, Subject, Recipient, Text, and SignOff. Notice also that we'll use the Sender data in multiple places.
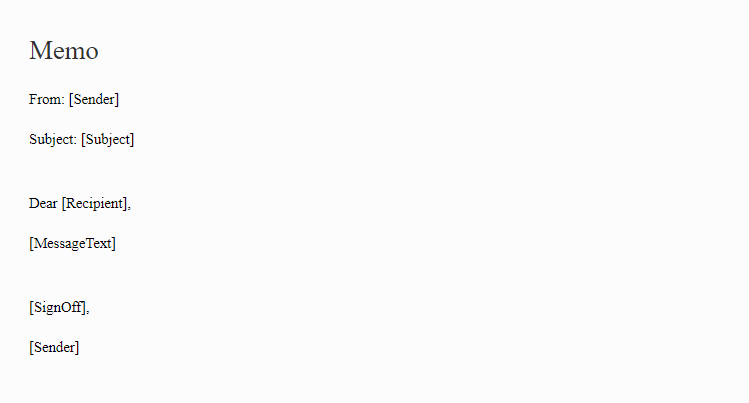
Simplified view of the template.
Let's add the form fields. For that, we'll navigate the Form pane on the left-hand side on the Recipe Editor.
-
Add a New Form Group.
-
Name the form group "Memo information" by selecting the title, which is Group 1 by default.
-
Add Form Field > TextField.
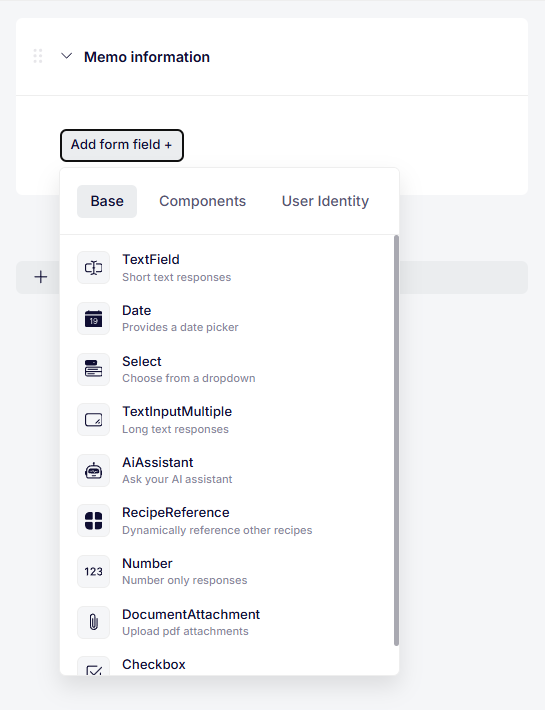
Adding a form field after creating and naming the form group.
-
Set Title to Sender and Key to sender.
- For visibility, collapse settings by selecting the Gear button of that form field.
-
Repeat steps 3 and 4 to add fields Subject, Recipient, and Sign-off.
- Set Titles to Subject, Recipient, and Sign-off respectively, and Keys to subject, recipient, and signOff respectively.
-
Add a multiline text field by Add Form Field > TextInputMultiple.
-
Set Title to Message text and Key to messageText.
- For visibility, collapse settings by selecting the Gear button of that form field.
-
Select the dot menu of the Message text form field, then select Move up. This adjusts the flow of the questions.
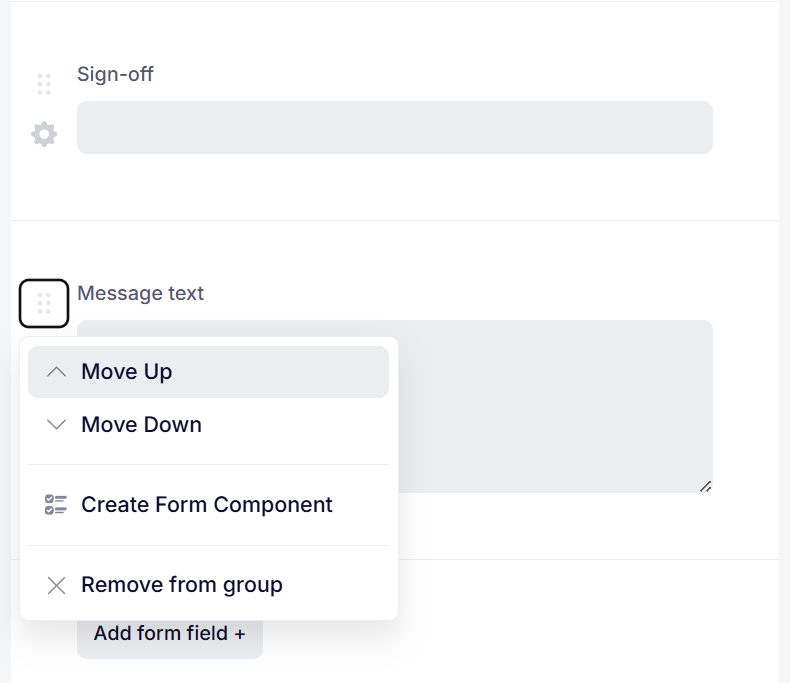
Moving a form field up.
You've added the form fields needed for this template. A user would be able to see and fill out the form, and generate a document at this point. However, the user's input would have no effect on the document. We'll ensure that the input data is inserted correctly in the next step. For now, use the Save button in the top-right to save the changes to the recipe before proceeding.
Add sample data
Now that the form is created, we'll add sample data that will later allow us to test that the form data is inserted into the document correctly. Type the following info into the textboxes of the form fields in the Form pane:
- Enter
Jane Doeinto the Sender field. - Enter
Summer partyinto the Subject field. - Enter
allinto the Recipient field. - Enter
Remember the summer party Friday next week!into the Message text field. - Enter
Kind regardsinto the Sign-off field.
Add bindings
The placeholders for dynamic data in Create templates are called bindings, and we say we bind the data to the template. Here's how to add simple text field bindings in the template from the recipe editor:
-
Select the
[Sender]text in the Binding Editor. -
Press the Insert button in the top left corner of the Binding Editor. A binding configuration popup should appear.
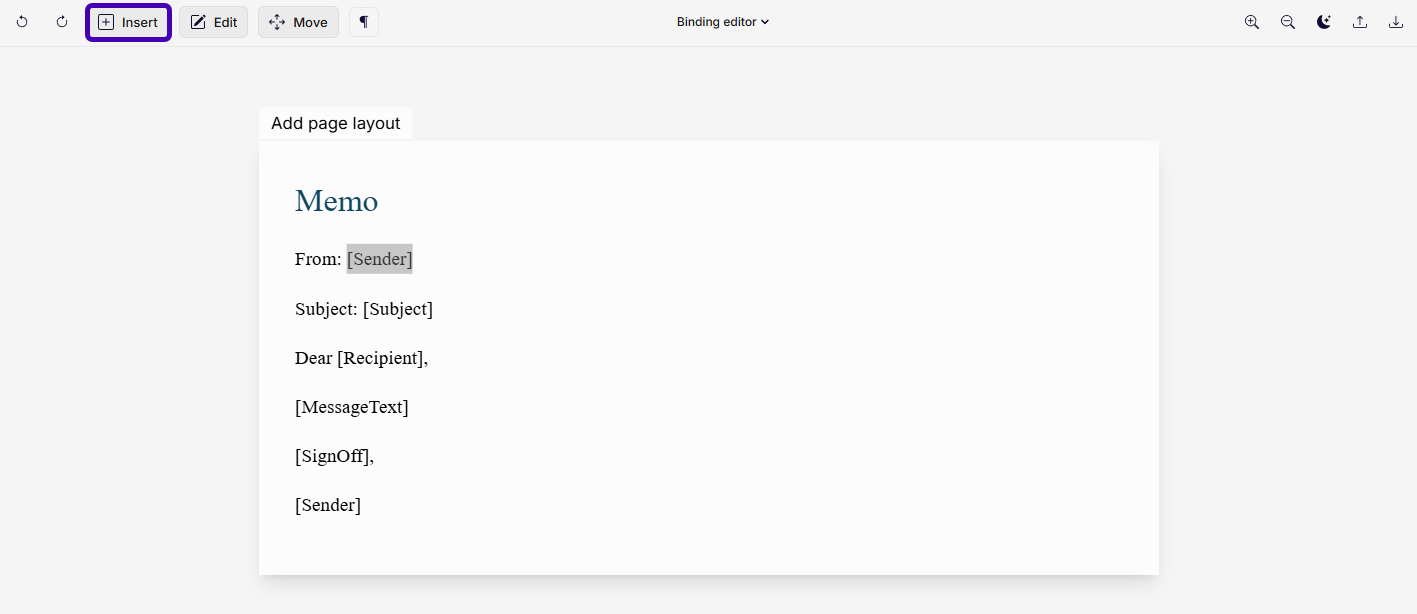
Setting up the Sender binding.
-
In the menu, select Field.
-
Select the Folder symbol at the right-hand end of the Binding Key textbox, and browse to the Sender field in the form.
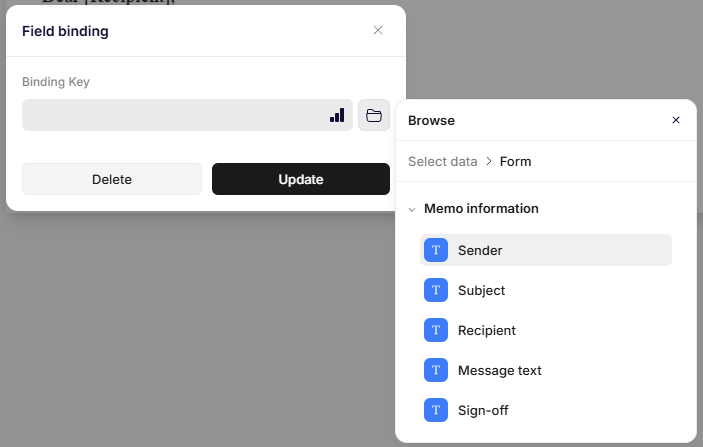
Data selection dialog box.
-
The popup should refresh and show the field that we provided as input data.
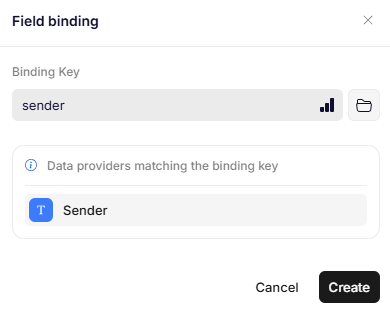
Data after refreshing the popup and selecting "Sender".
-
Select Create.
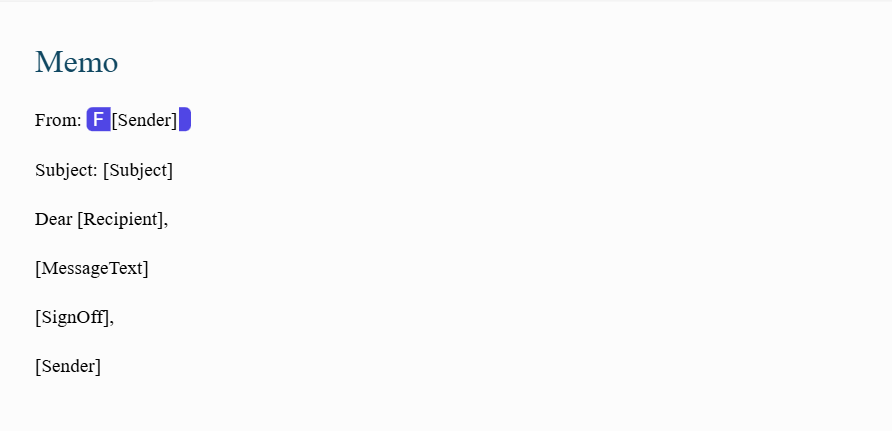
The result of adding a
Senderbinding. -
Follow the previous steps to add the
Subject,Recipient,MessageText,GreetingandSender(once again) bindings.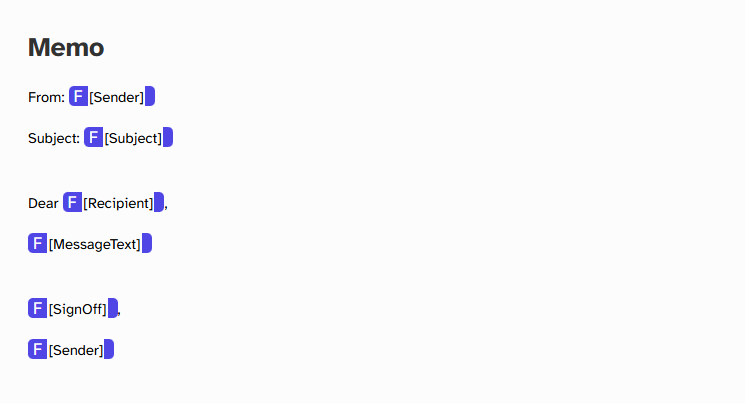
Expected result after successfully adding all the bindings.
The document is ready to test! Save your progress.
Generate the document
Select Generate from the top-right corner of the Binding editor. The preview opens in a new tab of your browser. If everything went well, the preview should look a lot like this:
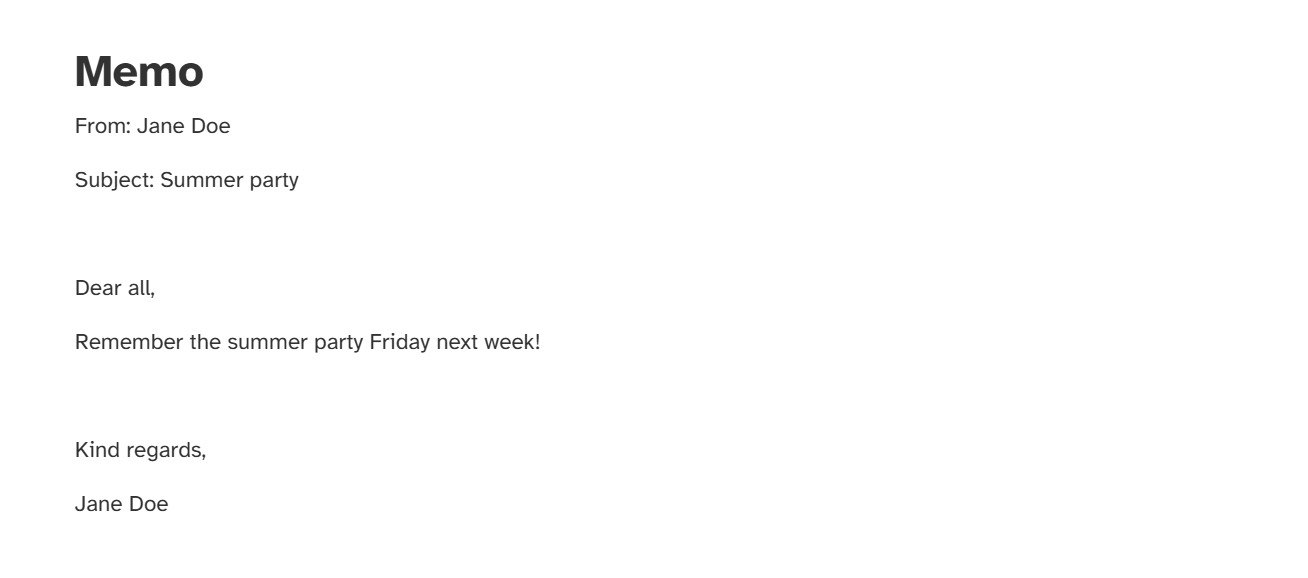
The preview of the generated document.
If there are some issues, you can check your binding setup and your template for errors. Edit the binding just like earlier, or download the document to adjust the template:
- Select the Download button in the top-right of the Binding editor (not the preview tab!).
- Open the document in Word.
- Make any necessary edits.
- Save the document.
- Return to the Binding editor, and select Upload in the top-right corner.
- Select the template that you fixed.
- Generate the document again and inspect the preview. Repeat the process if you need to make any other edits.
When you're satisfied, download the document as a .pdf and as a .docx from the preview tab by selecting Download>Download as .docx and Download>Download as .pdf.
Test the document from the user site
To witness the flow that the users will experience with your document, let's test it from the user site as well.
- Navigate to the user site of your solution.
- Navigate to the Unit and the Content source where you placed the recipe that we just created.
- Select the recipe by double-clicking or highlighting it and selecting Create.
- Fill out the form with test data.
- Select Create.
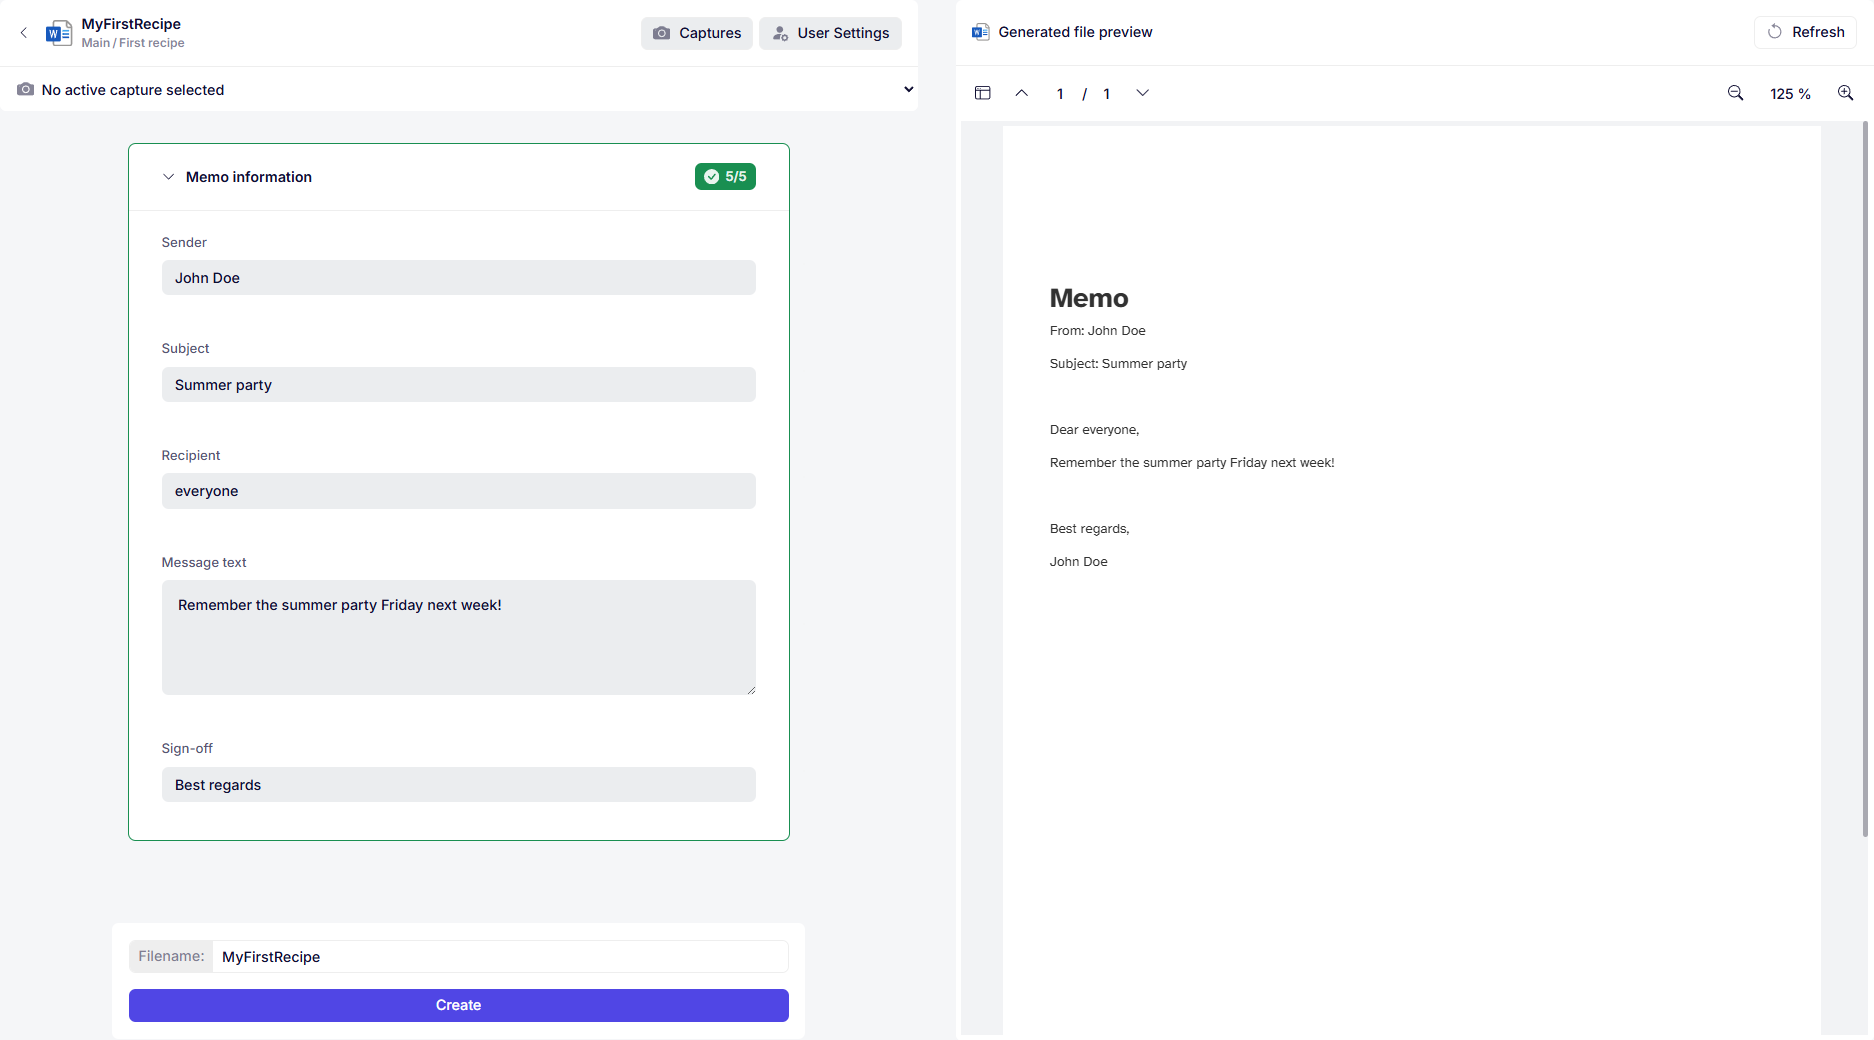
Preview of the document just before generation. The generated document looks exactly like the preview on the right.
Conclusion
You have streamlined creation of an internal memo. You added a form, and tied the data that's supplied through the form to the placeholders in the template. Many documents are automated in the same way, only requiring user input and a template.