
How to deploy the Omnidocs Create add-in
Deploying the Omnidocs add-in to Microsoft 365
The Omnidocs Create add-in allows you to access the document generating flows straight from Microsoft Word, PowerPoint, Excel or Outlook. This is the guide to deploying the add-in using Integrated Apps.
Prerequisites
- Organizational Microsoft 365 account and administrator rights to 365.
- Active Exchange Online mailboxes.
- Admin access to an organization on Omnidocs platform.
- Ensure Microsoft Edge WebView2 is installed.
- The add-in requires following Office API versions:
- Word API 1.3 Office 2016 or later (desktop), Office on the web
- Excel API 1.8 Office 2019 or later (desktop), Office on the web
- PowerPoint API 1.5 Office 2016 or later (desktop), Office on the web
- Outlook API 1.3 Office 2016 or later (desktop), Office on the web
- Addin permissions:
- It can read and modify the document
<Permissions>ReadWriteDocument</Permissions>
- It can read and modify the document
- These domains are accessible:
- https://login.microsoftonline.com
- https://app.omnidocs.cloud
- https://(tenantName).omnidocs.cloud
Obtain the manifest
- Navigate to the admin site of your organization in the Omnidocs platform.
- In the left side pane, select Integrations > New Integration +> Office Add-in.
- Enter a name, e.g. MyOfficeIntegration, then select Create.
- Select the newly created integration.
- Select Download Office manifest or Download Outlook manifest as needed.
Deploy the manifest
The add-in is deployed through the Microsoft 365 admin center, using Integrated Apps. The Office and the Outlook manifests are deployed in the same way, but have to be done one by one.
-
Open the Microsoft 365 admin center.
-
In the left side pane, navigate to (Show all >) Settings > Integrated apps.

The Integrated apps screen of the Microsoft 365 admin center.
-
Select Upload custom apps.
-
Set App type to Office Add-in, and choose to Upload manifest file (.xml) from device. Upload one of the manifest files that you obtained, then select Next.
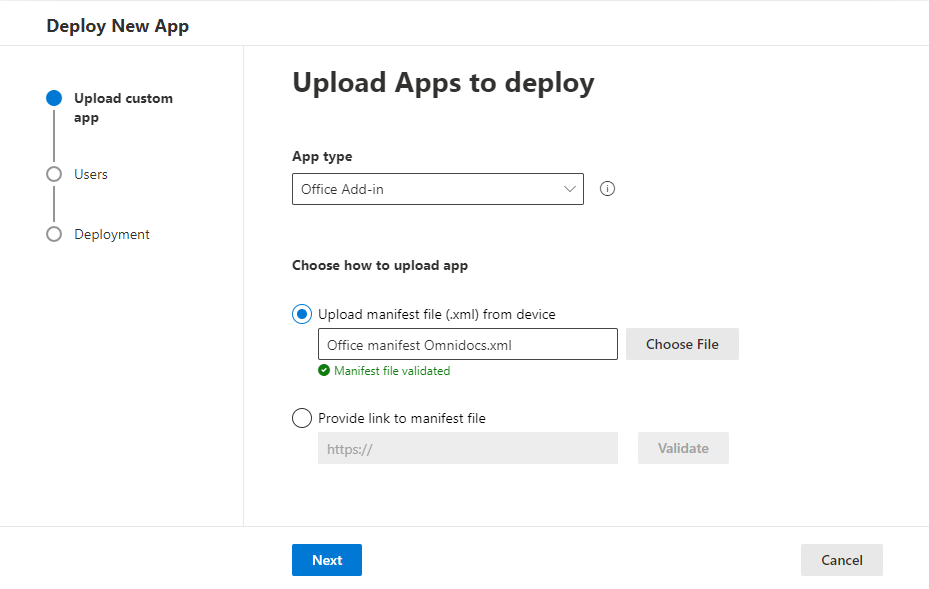
Uploading a manifest.
-
In the Add users screen, select which users should the add-in be available. Then select Next.
- If you're testing the deployment, you might want to deploy to yourself or a testing group first, and then redeploy to the entire organization.
-
You'll see the apps to which the manifest is getting deployed and permissions required from the app, which should include writing and reading document, and sending and receiving data. Select Next.
-
You'll see a review of your selections. If everything looks right, select Finish deployment.
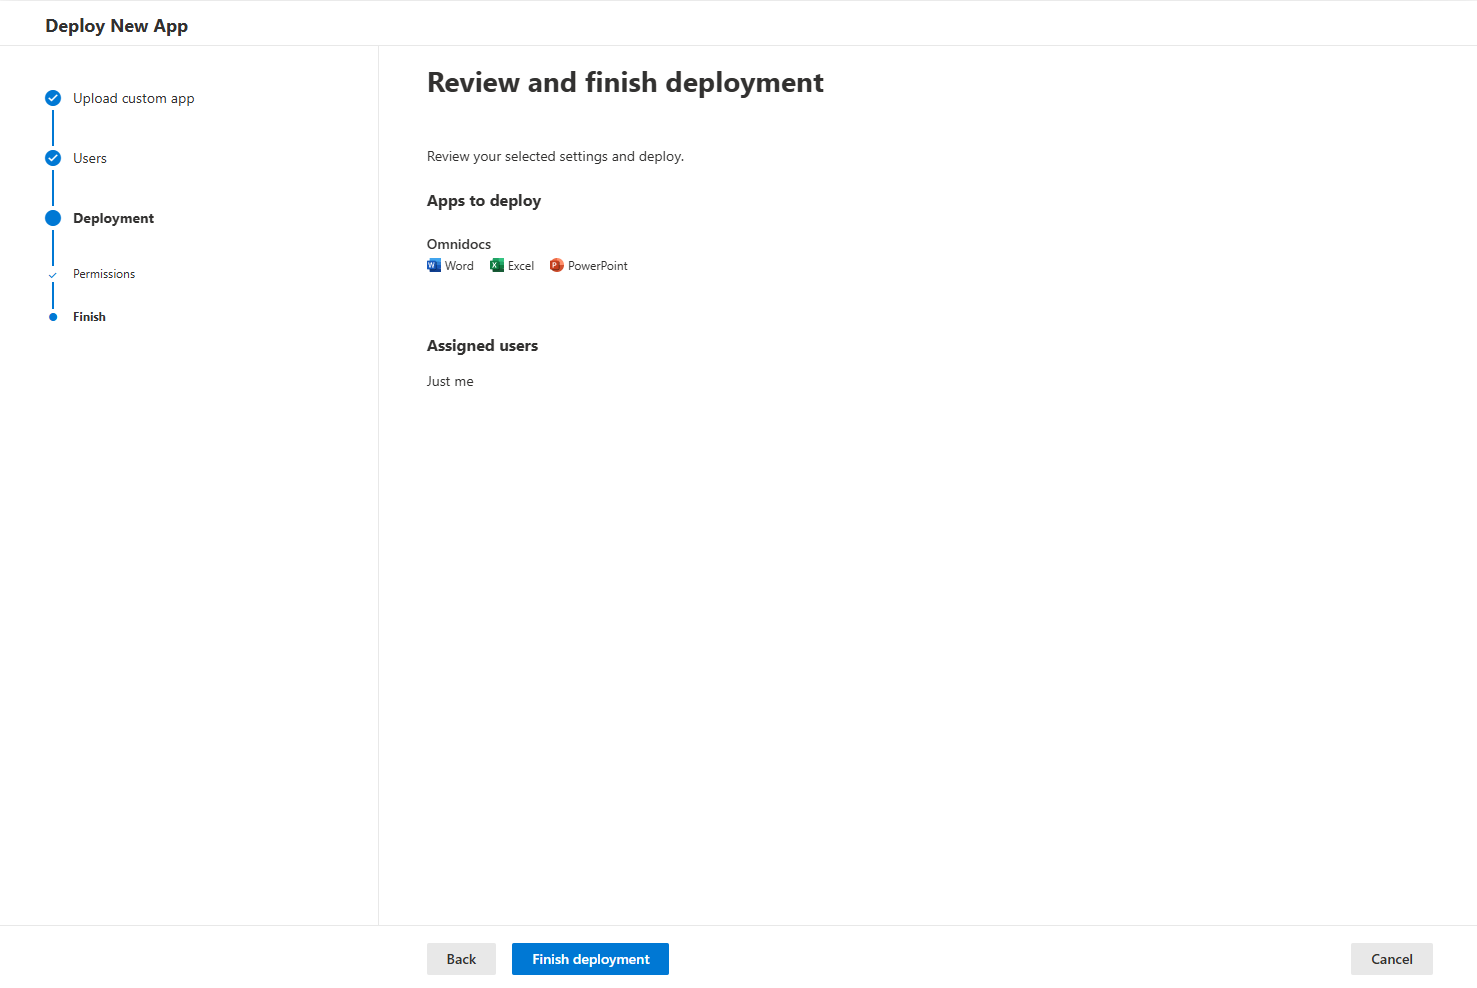
Finishing deployment.
FAQ
- Check if you have adequate permissions.
- A manifest can't be deployed with the same name twice. If the deployment is made, but isn't successful, you might have to rename the manifest to make it work.
Updated 9 months ago