
Get started
How to get started with Omnidocs Create
This article takes you through the process step-by-step of getting started with Omnidocs Create.
Prerequisites
Read about our prerequisites to make sure you're ready to get started.
Set up your environment
First, we need to set up your environment. Follow our guide to setting up SSO for Entra ID users.
This will create an Enterprise Application in your own Azure tenant called Omnidocs Authentication, and you are ready for the next step.
To learn more about Enterprise Applications, please refer to Microsoft's quickstart guide.
Set up custom claims (user profile information)
To populate your user profiles (User identities) in Create with required and other relevant data from Entra ID, you need to set up custom claims in the newly created Enterprise Application. To do that, follow our guide on how to add custom claims.
If you do that, your users in Create will automatically be populated with the data from Entra ID that you have specified the next time they log in.
Set up the default unit and user identity form
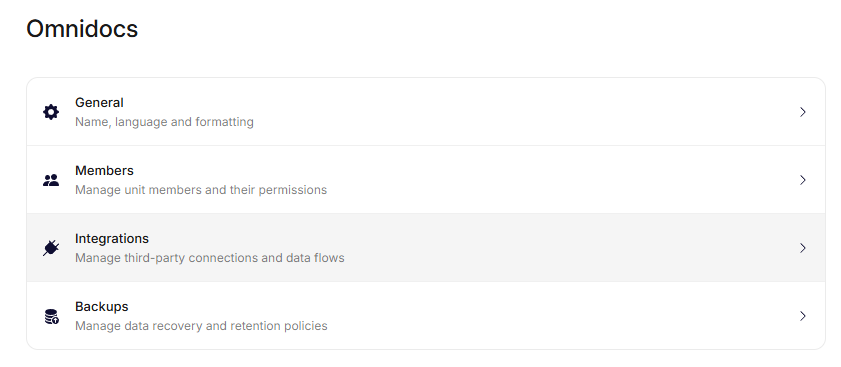
To set up your default unit, navigate to Settings in the left menu.
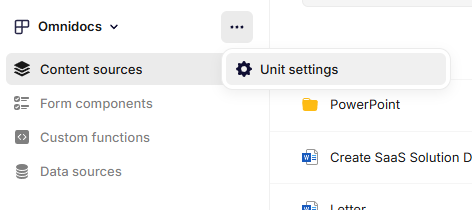
Settings
Navigate to General and from here you can rename the unit as well as set up a default date and number format for your culture. Lastly, select Update.
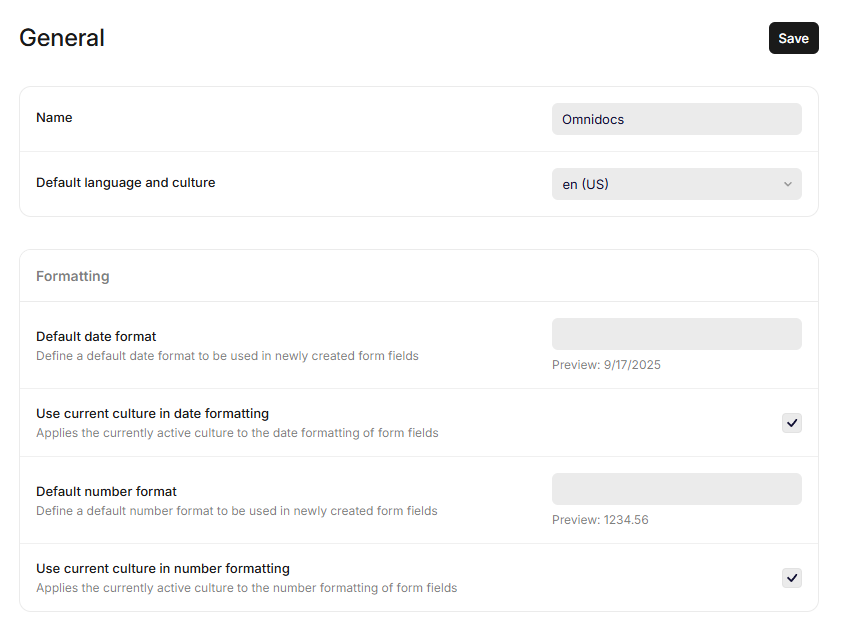
General settings
Next, set up the user identity form.
This form will usually be set up by Omnidocs consultants, but to confirm that the necessary form elements are present, navigate to the User identity section in the Unit settings menu:
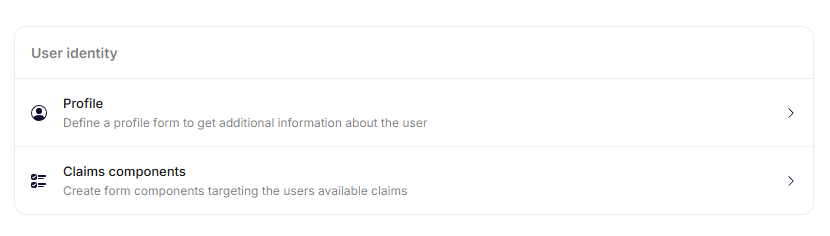
User Identity
The User Identity Form is split into two sections: Profile and Claims.
Profile fields are presented to the user in their user form to fill out manually. For each of these fields, it is possible to mark them as Allow overwrite, which allows the user to change the value from their profile in the recipes where the form component is used.
Claim fields are automatically populated by the user's claims and have to be mapped to specific claims that exist in your environment. These fields can be used in forms on recipes, and will be pre-populated with the value from the claim.
After confirming that the User Identity Form is set up correctly, you are ready to continue to the final step.
Deploying the Omnidocs Create add-in
The final step is deploying the Omnidocs Create add-in.
To do this, navigate to the Integrations page in the Unit settings menu.
Integrations
In here, an integration of the type OfficeJS should be available. If not, go ahead and create one.
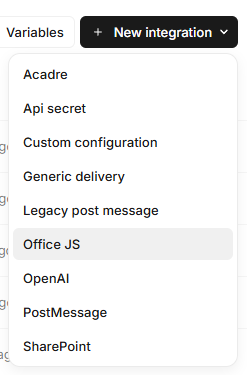
Creating an integration
When selecting the integration type, give the integration a name of your liking and select Create.
After creating the integration, open it from the list of integrations and download the Office manifest.

Download Office manifest
You are now ready to deploy the manifest to the relevant users in order to make it available in their Office applications.
To do so, please refer to Microsoft's own article on deploying an Office Add-in.
Updated 10 months ago