
Select
Use a Select node when you want users to choose from a predefined list of Element nodes.
Introduction
A Select node links to one or more Elements in the Information Tree. Each option represents an Element that can contain its own structure, logic and fields.
When a user selects an option, the corresponding Element becomes part of the document.
This makes it possible to switch between different document sections or structures based on a selection.
You can use a Select node for:
- Choosing between different document sections
- Selecting different contract clauses
- Switching between alternative content blocks
- Showing different structures based on user input
Depending on the configuration, users can select a single Element or multiple Elements from the list.
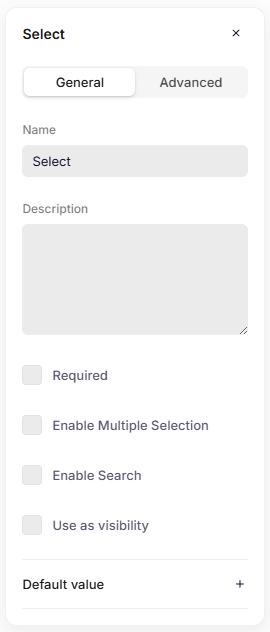
General settings
Name
Enter a clear name. This label appears in the Information Tree and helps you identify the node.
Choose a name that reflects what the user is selecting, such as Contract type, Address type or Clause selection.
Description
Add a short description to explain what should be selected.
Required
Enable this option to make the field mandatory. You must select an option before you can continue.
Enable Multiple Selection
Allow more than one Element to be selected. When enabled, users can choose multiple options from the list.
Enable Search
Adds a search field to the selection list. This helps users find options quickly when the list contains many Elements.
Use as visibility
Changes the Select node from a dropdown to a checkbox.
Use this option when the selection should control visibility in the template. When enabled, the checkbox determines whether the related Element is included.
When Use as visibility is enabled, the following settings are no longer used:
- Default value
- Enable Search
- Enable Multiple Selection
Default value
Set a default Element that is selected when the form opens.
If multiple selection is enabled, you can define more than one default value.
General settings
Advanced settings
Key
The key automatically inherits the Name you enter in the General settings. If needed, you can change it and define a unique key for the node.
The system uses the key to reference this field in the data structure and in templates.
Use a clear and consistent naming pattern. For example: documentType or paymentMethod.
Do not use spaces or special characters. Use letters only.
Add element options
A Select node contains Element nodes that represent the available options.
To add an option, click the plus (+) icon inside the Select node in the Information Tree. Then choose Element.
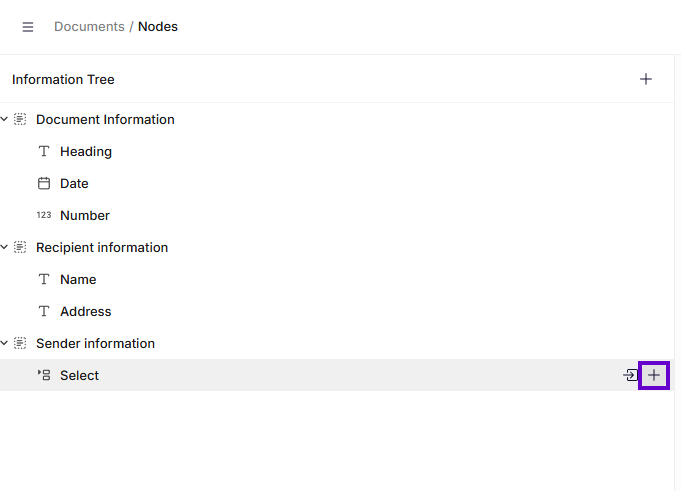
Adding an element to a select node
Each Element represents one selectable option.
After adding an Element, you can attach other nodes to it, such as:
- Text
- Number
- Date
- Group
- Repeat
- Table
- Another Select
- Another Element
This allows each option in the Select node to contain its own structure, fields, and logic.
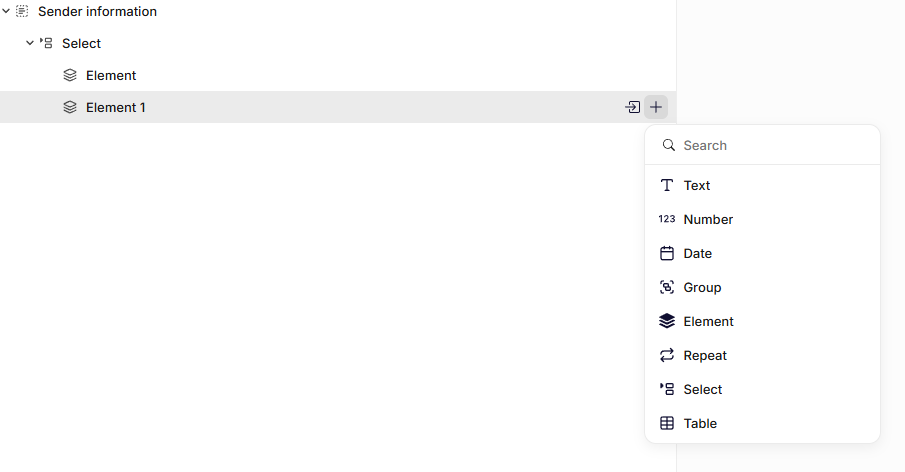
Element options inside a select node
For more information about Elements, see the Element node documentation
Updated 5 months ago